
Tortilla Assembly
The Tortilla Booth is designed to be our easiest to set up booth yet. Within a few short minutes, you will have your booth assembled and ready to go.
Welcome To Tortilla
Before You Start

Before assembling the Tortilla Booth, make sure you:
Update to the latest iOS version
Have a 13’ (4m) diameter circular area to set up your Tortilla Booth (approximately 13’ x 13’/4m x 4m)
Part One
Unpack The Tortilla

Roll the Tortilla case to a position behind where your booth will be fully set up
Unzip the large side panel
Remove the Tortilla arm and set aside
Note: the Tortilla arm must be removed before the base
Roll the Tortilla base out along the side panel
Lay the Tortilla base down on the ground, feet side first
Part Two
Balance The Tortilla
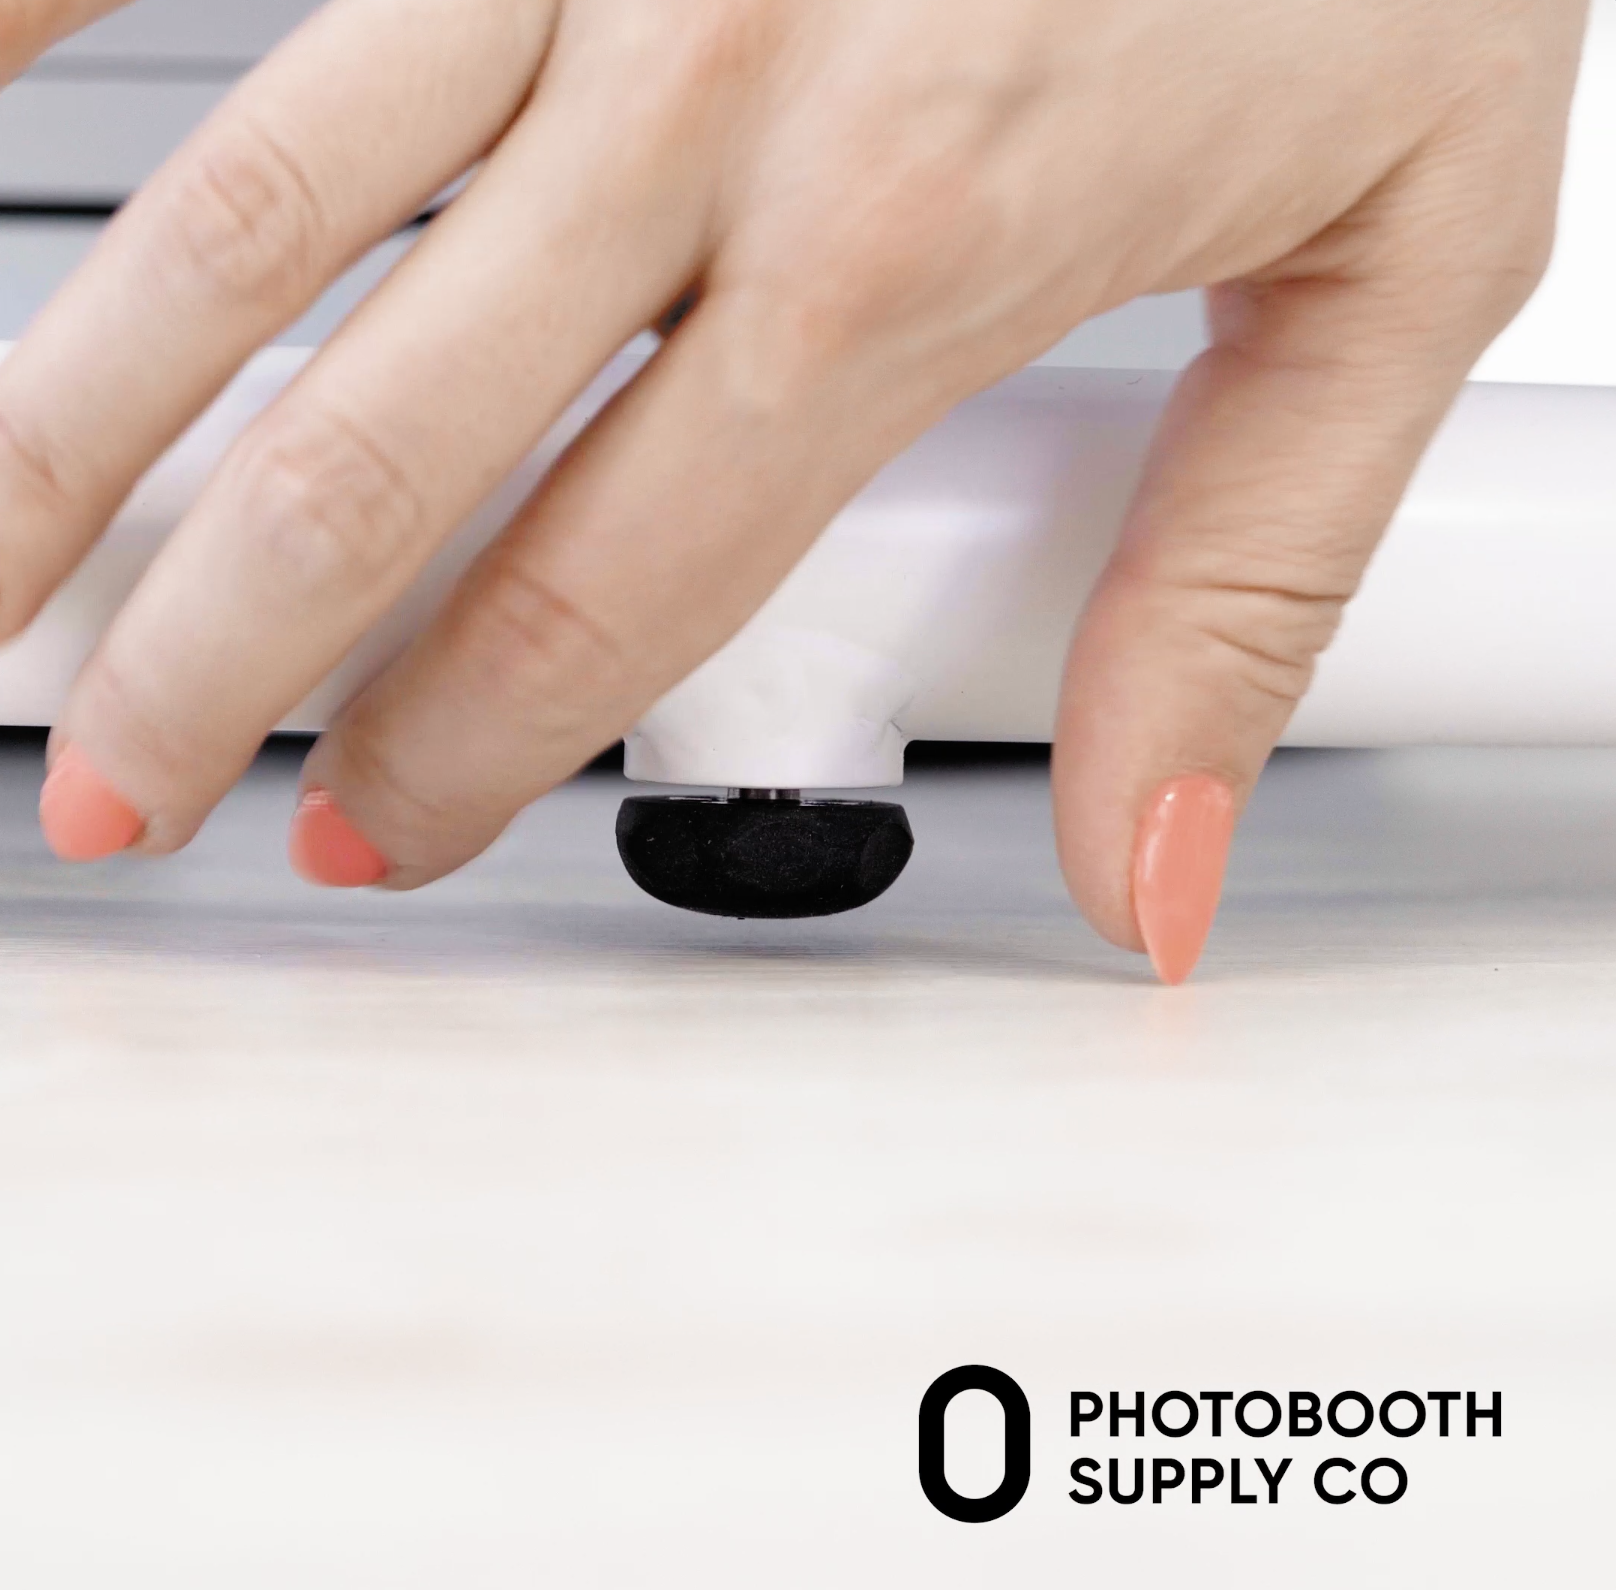
Step onto the Tortilla platform and place your feet in a wide stance. Each foot should be on the edge of the base, across from each other.
Shift your weight from side to side, forward and backward
Adjust the feet as necessary to balance the Tortilla base
Part Three
Attach The Arm

Compress the pin lock on the Tortilla arm attachment point on the base
Slide the Tortilla arm onto the Tortilla arm attachment point
Adjust the arm angle by unscrewing and then pulling out the hinge knob
Extend the arm by unscrewing the arm knob and sliding the arm up and down
Secure both the arm knob and the hinge knob to lock the angle and height in place
Part Four
Attach iPhone

Loosen the universal mount hinge screw to adjust angle, then tighten
Attach iPhone mount to the universal mount using the universal screw knob
Loosen iPhone mount side grips
Slide iPhone into place and retighten side grips
Note: make sure to not over-tighten the side mounts as that can trigger the iPhone emergency call system
Part Five
Attach The Power Cables

Connect the AC power cable to the DC power supply. Then:
Plug the DC power supply into the DC socket that is below the Tortilla platform
Note: do not plug the AC power cable into the power outlet yet
Position the DC power supply in the opening under the Tortilla base
Part Six
Plug The Power Cable In
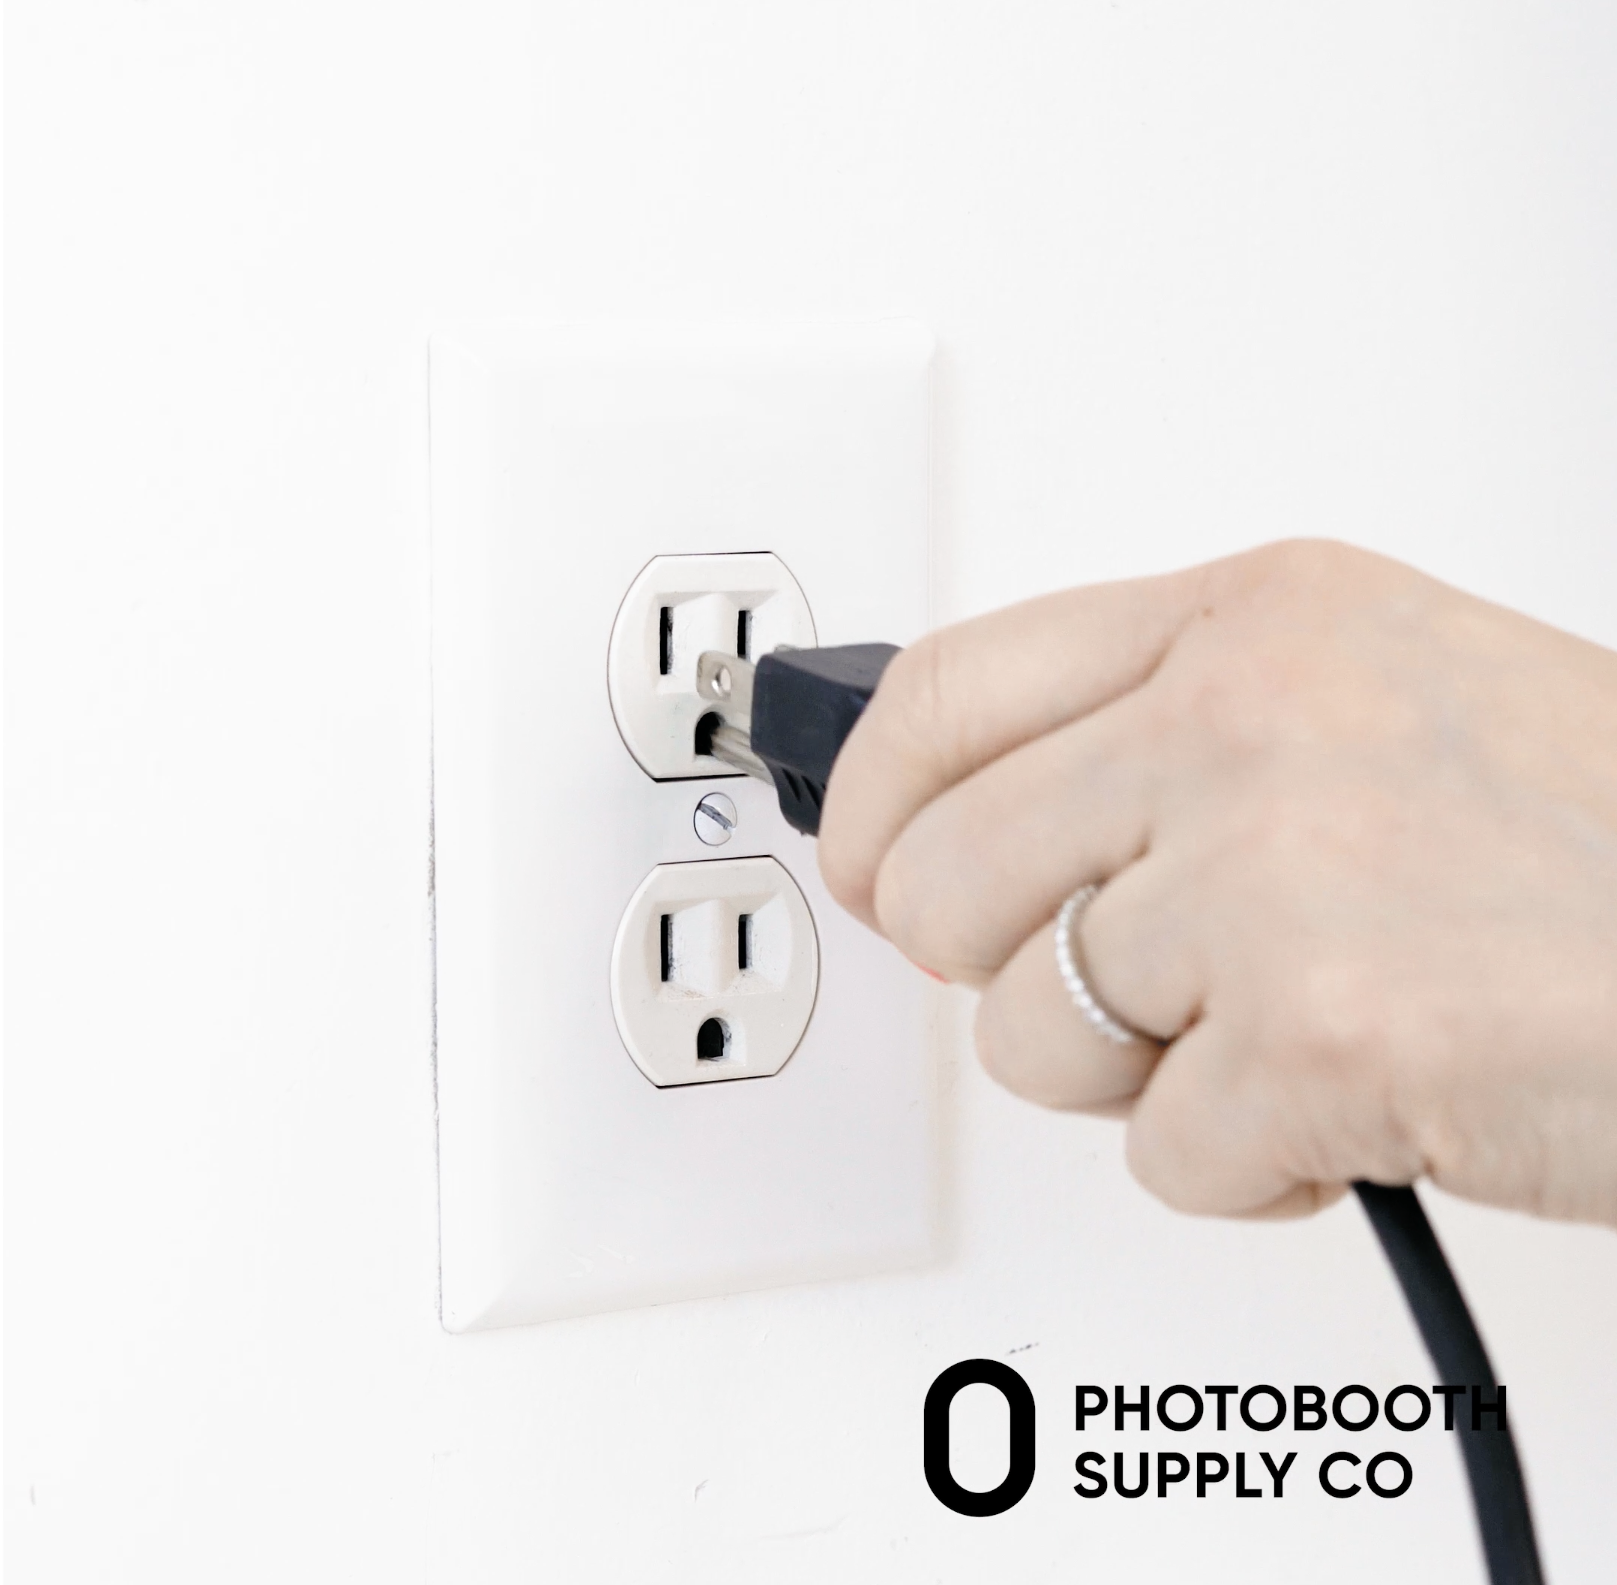
Locate the power outlet you will be using
Tape down the AC power cable
Note: do this before you plug the Tortilla Booth into power
Plug the AC power cable in to the power outlet to turn on the Tortilla Booth
Test the Tortilla Booth by using the remote to start rotation